

스토리보드에 Label을 추가한다.

그리고 Label의 폰트 크기는 40, 오른쪽 정렬, 폰트 컬러는 화이트, 백그라운드 컬러는 블루로 변경한다.

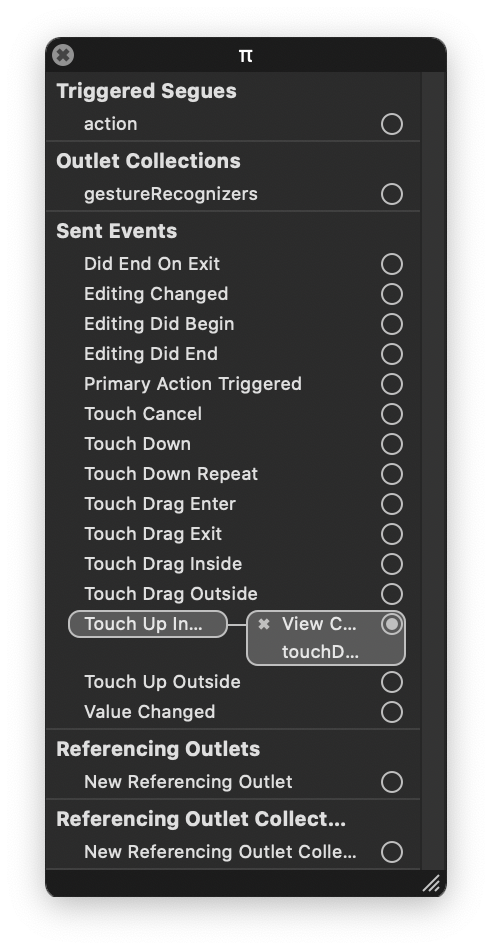
이제 버튼 때와는 반대로 라벨에서 코드를 자동 생성해보자. 라벨에서 오른쪽 버튼을 누르면 작은창이 나타난다. 여기에서 New Referencing Outlet 오른쪽의 동그라미를 끌어다가 코드 에디터창에 끌어넣는다. Oultet의 의미는 method가 아니라 property를 만든다는 것이다.

Name에 display을 입력하고 connetct 버튼을 클릭한다.

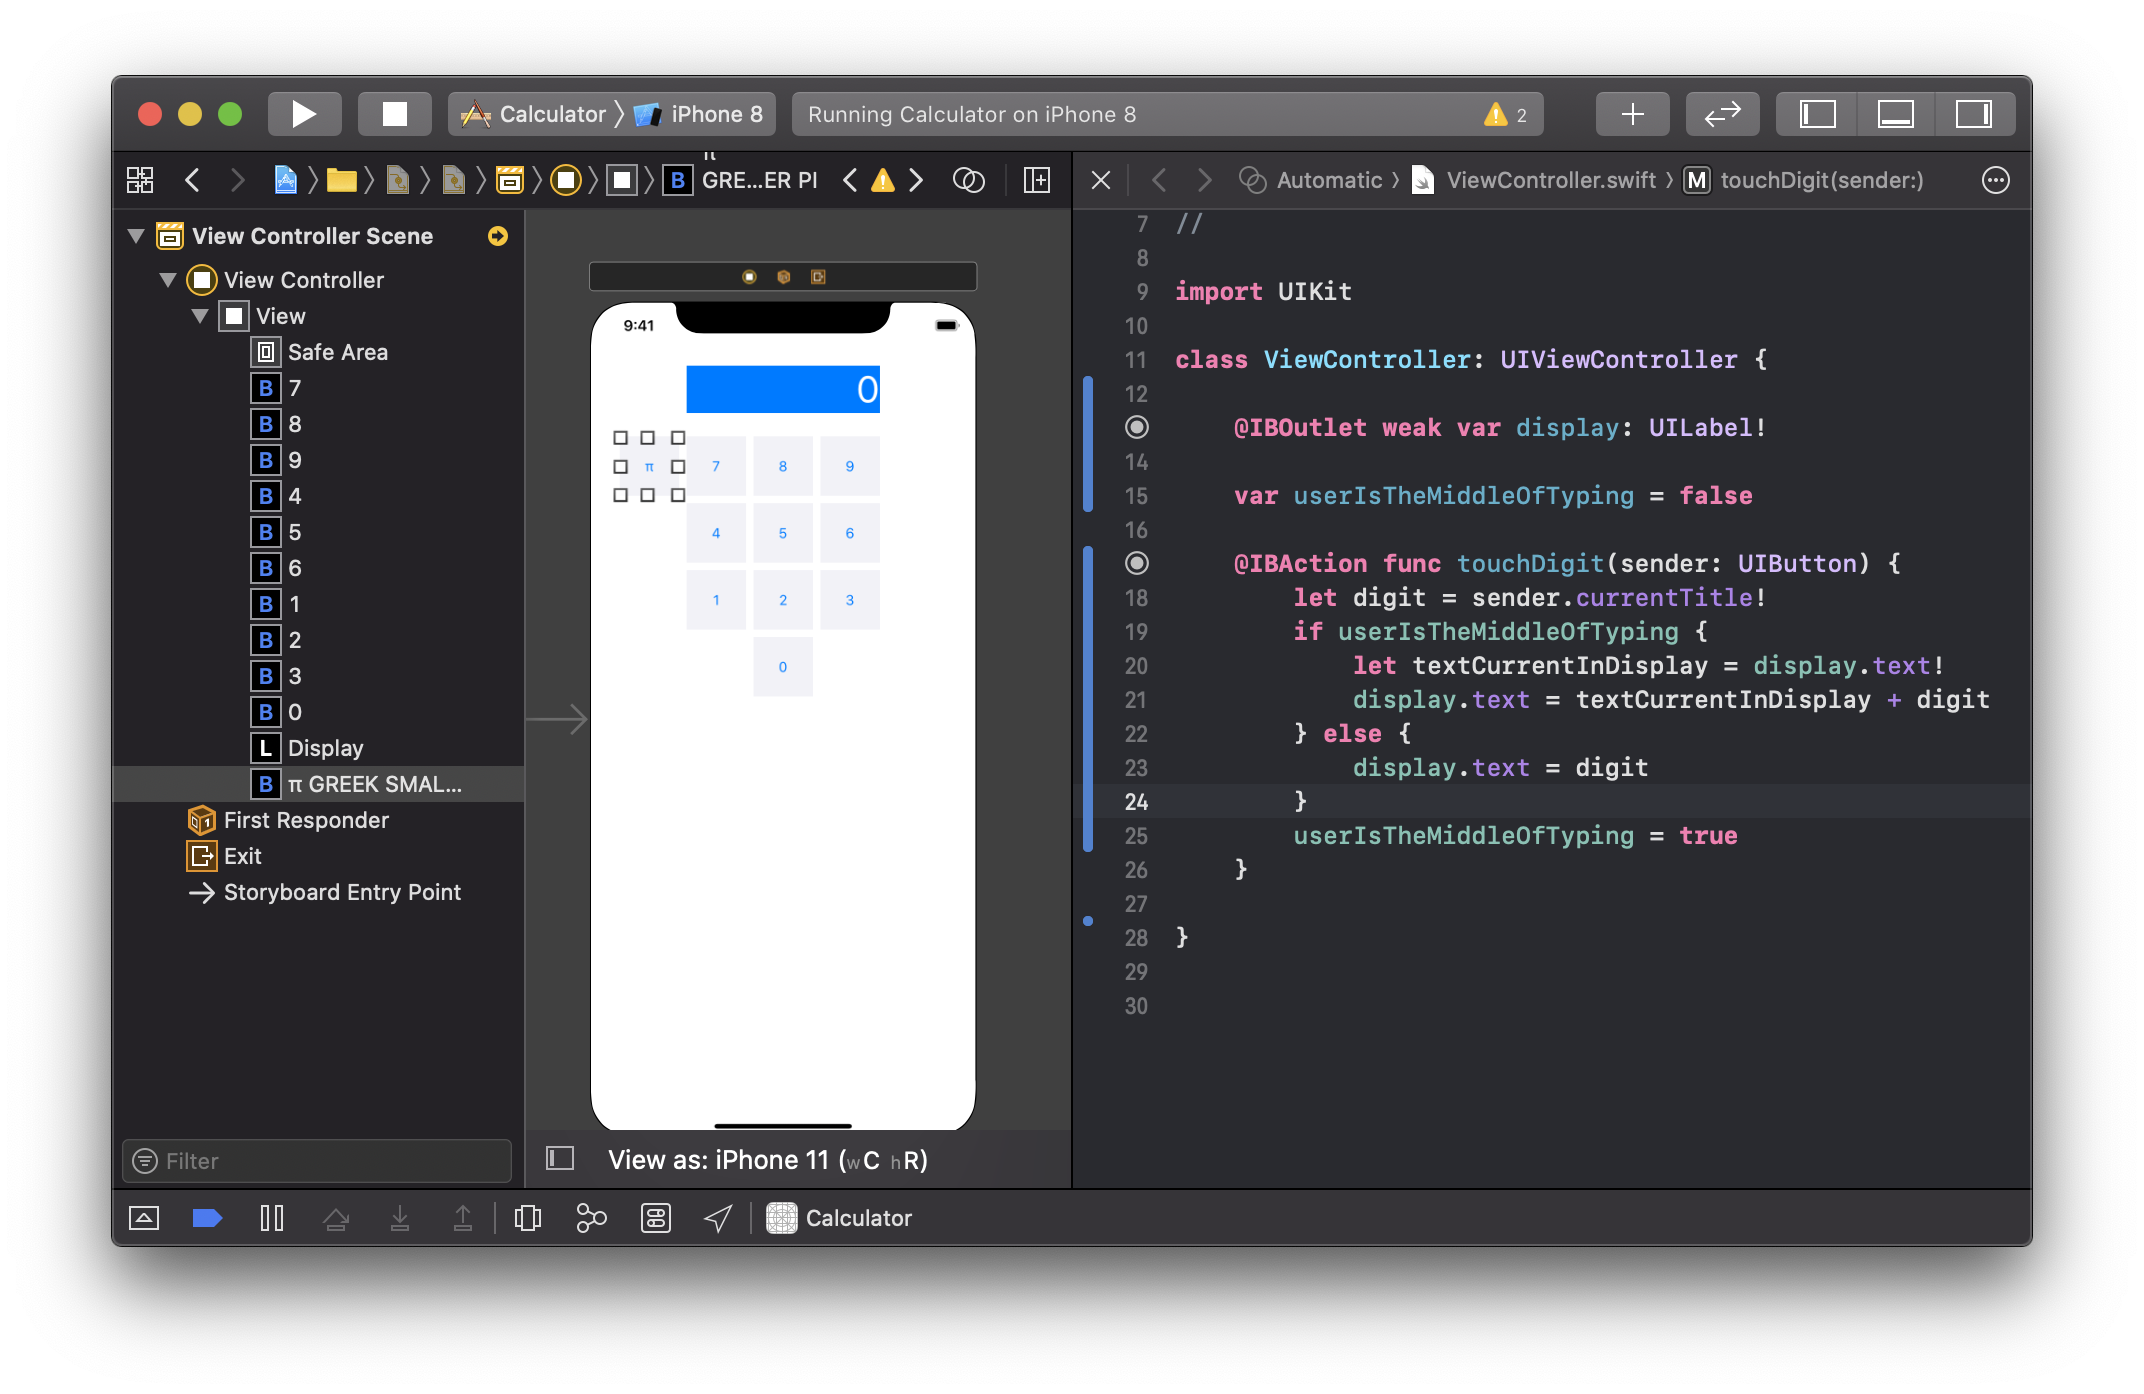
그럼 다음과 같이 코드가 자동 생성된다.

touchDigit function을 다음과 같이 수정한다. UILabel이 옵셔널이기 때문에 뒤에 !가 자동으로 붙었다.
class ViewController: UIViewController {

    @IBOutlet weak var display: UILabel!

    @IBAction func touchDigit(sender: UIButton) {
        let digit = sender.currentTitle!
        let textCurrentInDisplay = display.text!
        display.text = textCurrentInDisplay + digit
    }

}
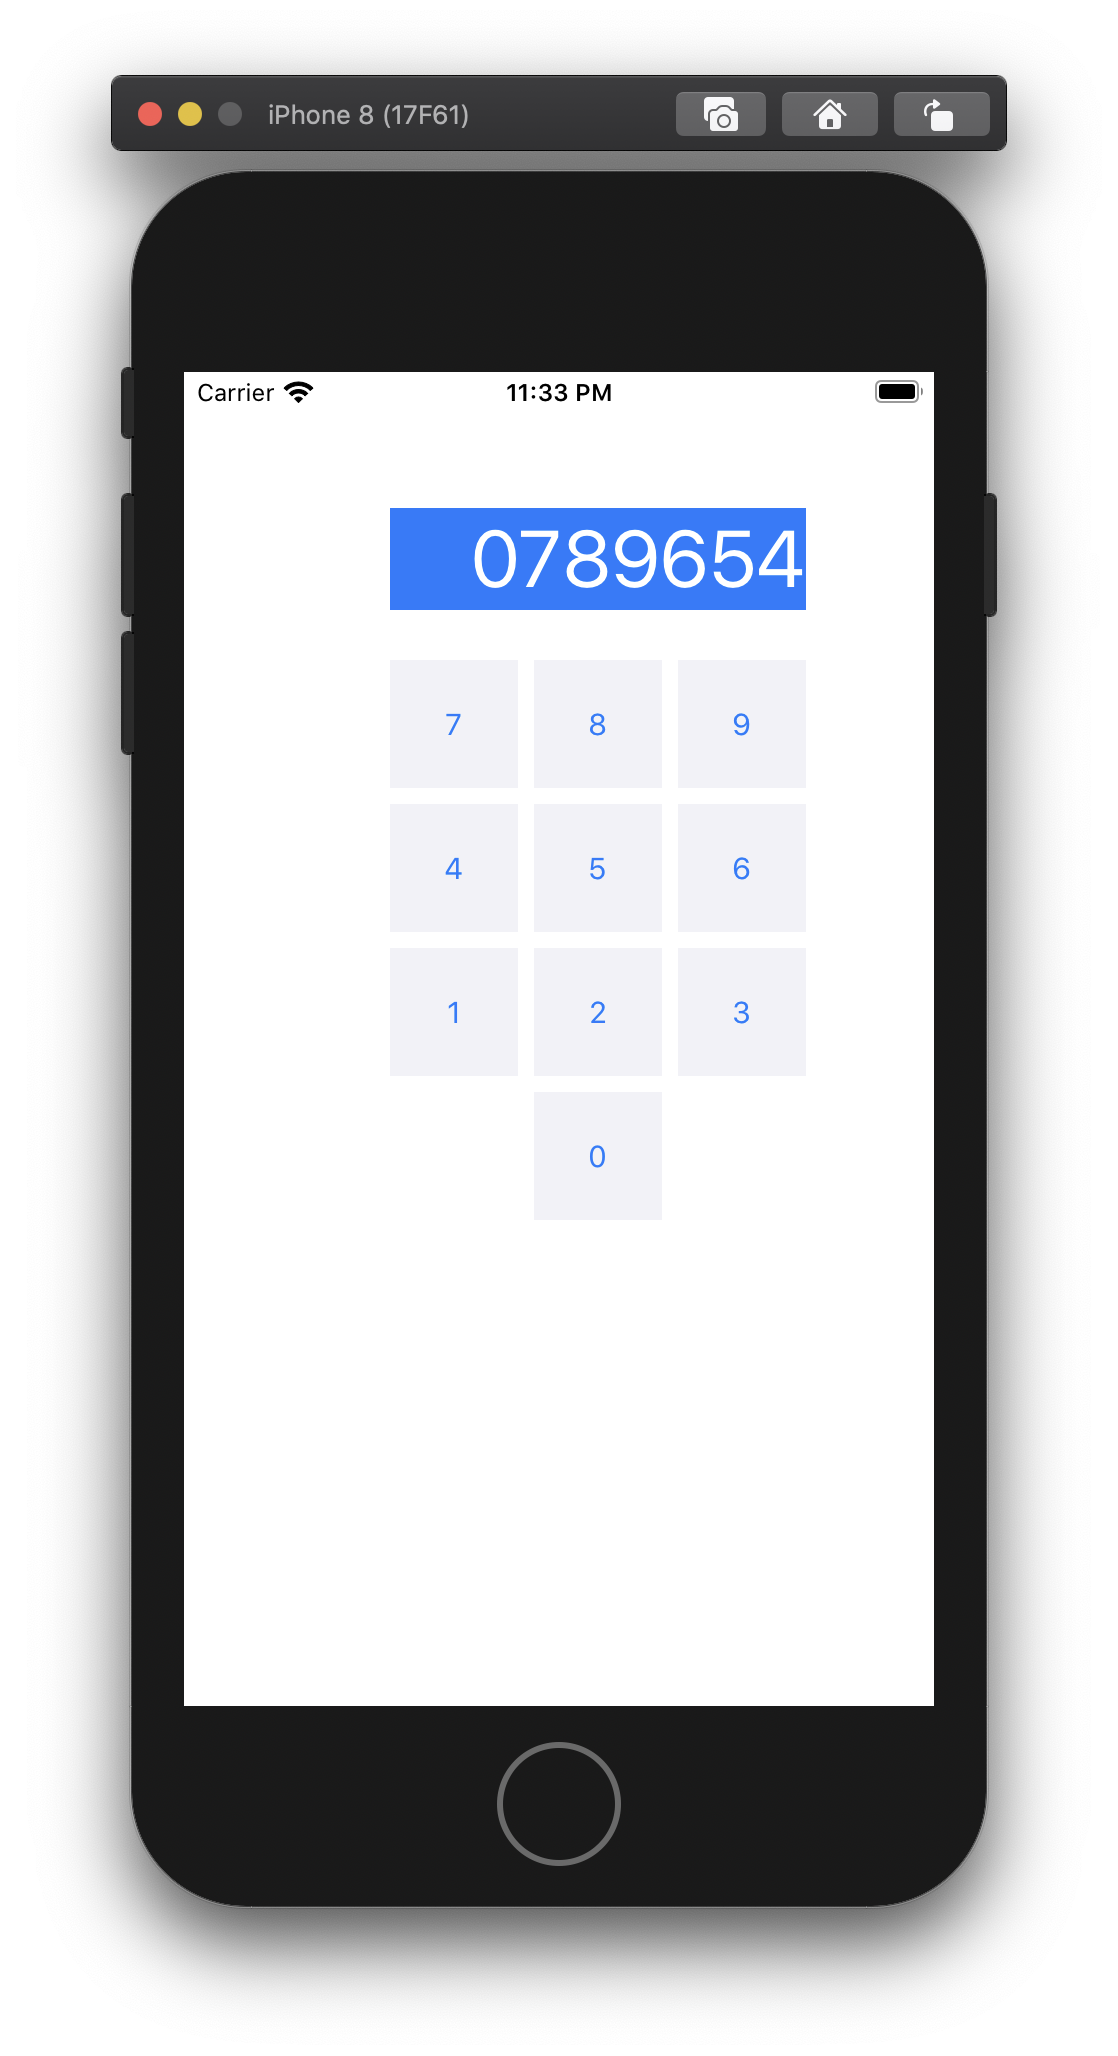
코드를 실행하고 시뮬레이터에서 확인하면 다음과 같이 숫자가 입력되는 것을 확인 할 수 있다.
코드에 userIsTheMiddleOfTyping 변수를 추가합니다. 사용자가 입력 중이라면 숫자를 뒤에 계속 붙여나갈것이지만, 그렇지 않으면 지금 입력한 숫자로 초기화 합니다.
class ViewController: UIViewController {
@IBOutlet weak var display: UILabel!
var userIsTheMiddleOfTyping = false
@IBAction func touchDigit(sender: UIButton) {
let digit = sender.currentTitle!
if userIsTheMiddleOfTyping {
let textCurrentInDisplay = display.text!
display.text = textCurrentInDisplay + digit
} else {
display.text = digit
}
userIsTheMiddleOfTyping = true
}
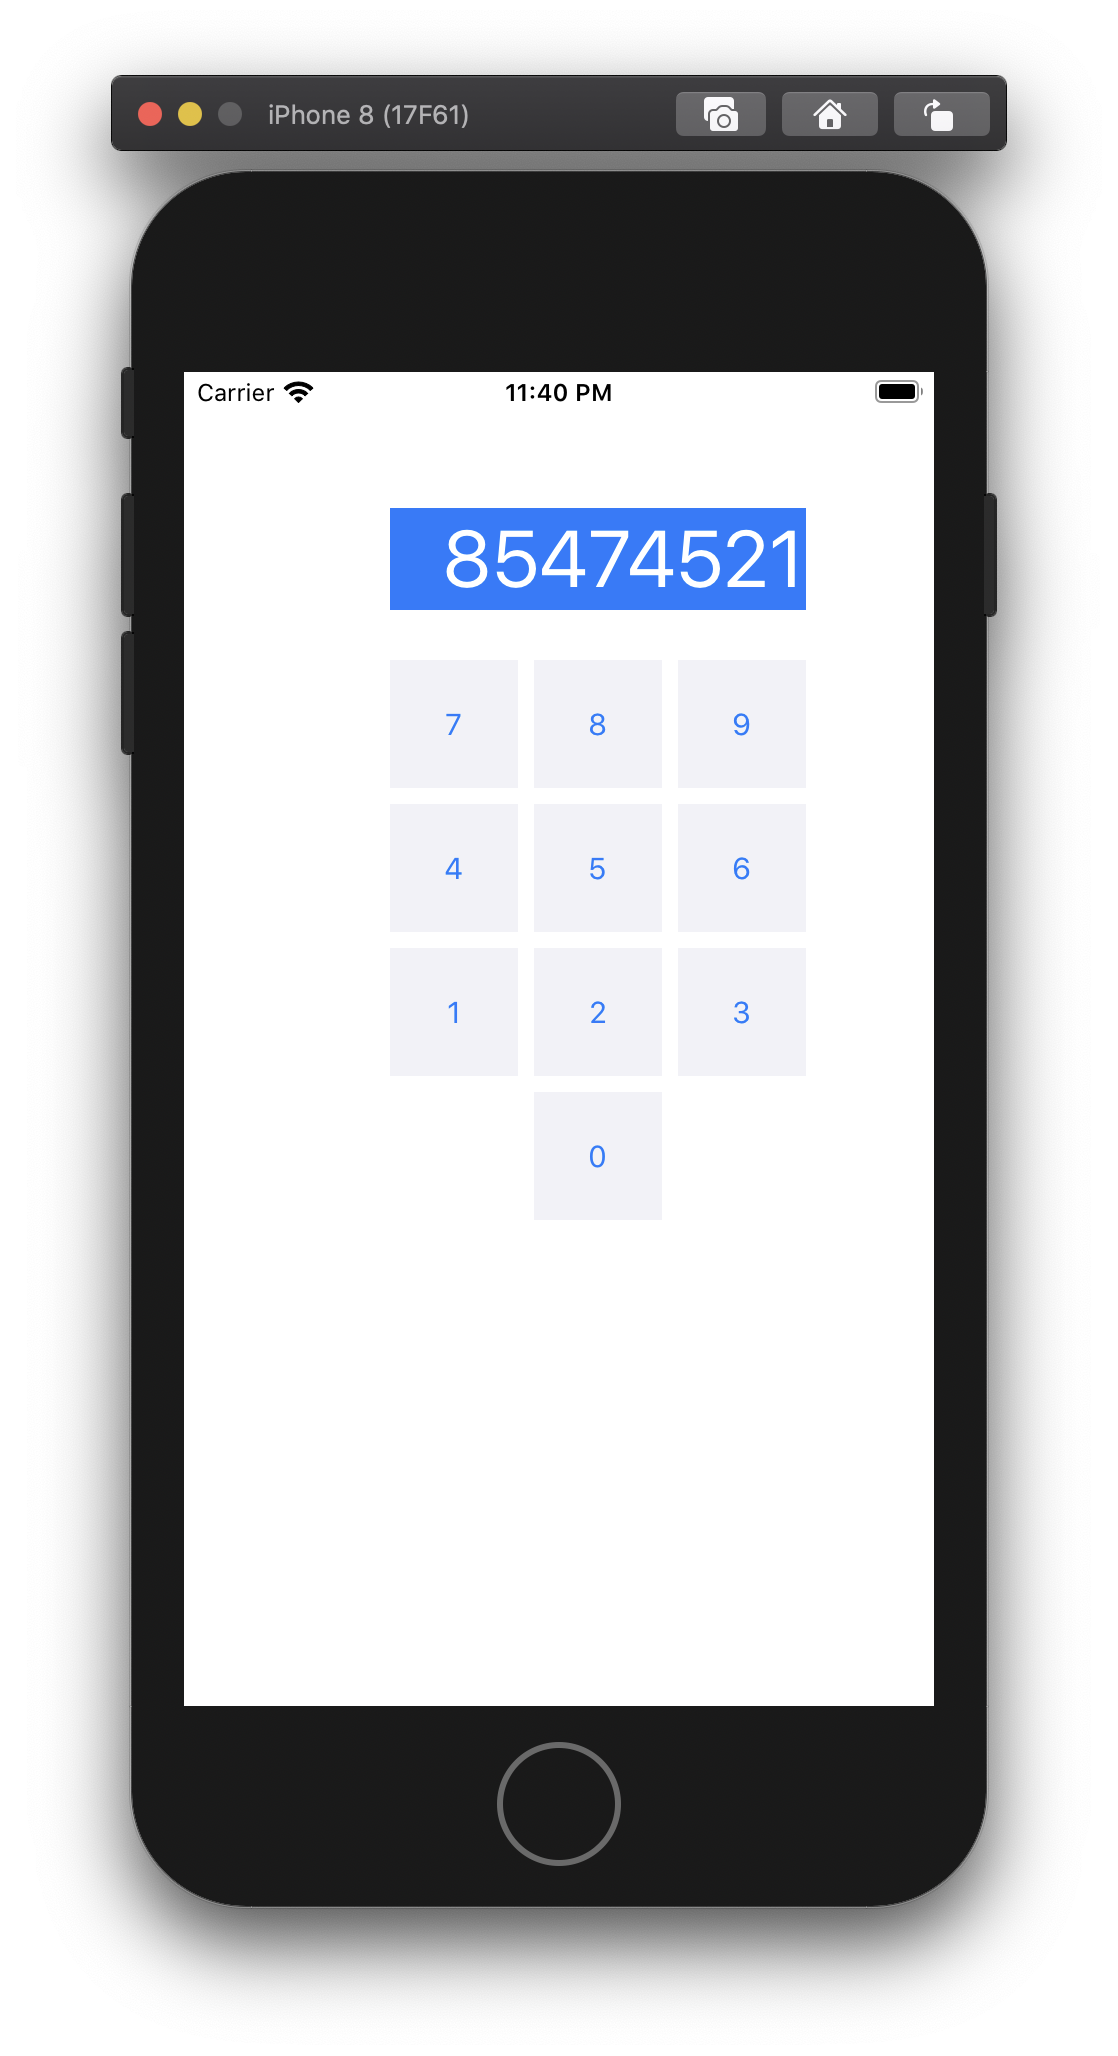
}단축키 Cmd + R 를 눌러서 다시 실행해보자. 이제 버튼을 클릭하면 맨앞에 0이 없어지는 것을 확인할 수 있다.
이제 파이(π) 버튼을 추가하자.
특수문자 파이(π)를 입력하는 방법은 다음과 같다. 단축키 Control + Command + Space를 누른다. 그리고 작은창이 나타나면 오른쪽 상단의 버튼을 클릭하면 조금 더 큰 창이 나타난다. 거기서 letter pi를 검색하고 문자를 선택한다.


파이 버튼에서 마우스 오른쪽 버튼을 클릭하여 기존에 연결 되어 있는 액션을 제거한다.
그리고 액션을 다시 생성합니다. Name은 performOperation을 입력한다. 그리고 Type는 UIButtion으로 변경합니다.

다음과 같이 코드가 자동 생성된다.

performOperation function을 다음과 같이 작성한다. 파이 버튼을 클릭하면 3.14... 숫자가 보여진다.
   @IBAction func performOperation(_ sender: UIButton) {
        if let mathmaticalSymbol = sender.currentTitle {
            print(mathmaticalSymbol)
            if mathmaticalSymbol == "π" {
                display.text = String(Double.pi)
            }
        }
    }
let mathmaticalSymbol 는 옵셔널이기 때문에 if 구문으로 감싸면 mathmaticalSymbol에 값이 nil이 아닐때만 동작할 것이다.
3.14.... 숫자가 많기 때문에 label의 Miniun Font Size를 9로 설정한다. 이제 label에 텍스트가 많아지면 폰트가 9로 줄어든다. 그러면 더 많은 텍스트를 출력할 수 있다.

같은 방법으로 루트(√) 도 추가한다.
    @IBAction func performOperation(_ sender: UIButton) {
        if let mathmaticalSymbol = sender.currentTitle {
            print(mathmaticalSymbol)
            if mathmaticalSymbol == "π" {
                display.text = String(Double.pi)
            } else if mathmaticalSymbol == "√" {
                display.text = String(sqrt(Double(display.text!)!))
            }
        }
    }
display.text를 displayValue를 변수로 만들어 분리해보자. 이렇게 하면 코드가 더 깔끔해진다.
    var displayValue: Double {
        get {
            return Double(display.text!)!
        }
        set {
            display.text = String(newValue)
        }
    }

    @IBAction func performOperation(_ sender: UIButton) {
        if let mathmaticalSymbol = sender.currentTitle {
            print(mathmaticalSymbol)
            if mathmaticalSymbol == "π" {
               displayValue = Double.pi
            } else if mathmaticalSymbol == "√" {
                displayValue = sqrt(displayValue)
            }
        }
    }
'개발' 카테고리의 다른 글
| Swift로 계산기 만들기 #5 - 연산 함수 업그레이드 하기 (0) | 2020.07.12 |
|---|---|
| Swift로 계산기 만들기 #4 - 계산기 모델 만들기 (0) | 2020.07.12 |
| Swift로 계산기 만들기 #2 - 버튼 생성하기 (0) | 2020.07.11 |
| Swift로 계산기 만들기 #1 - Xcode 프로젝트 생성하기 (0) | 2020.07.11 |
| [개발] 소스 코드를 이미지로 바꿔주는 서비스 : Carbon (0) | 2019.08.09 |